
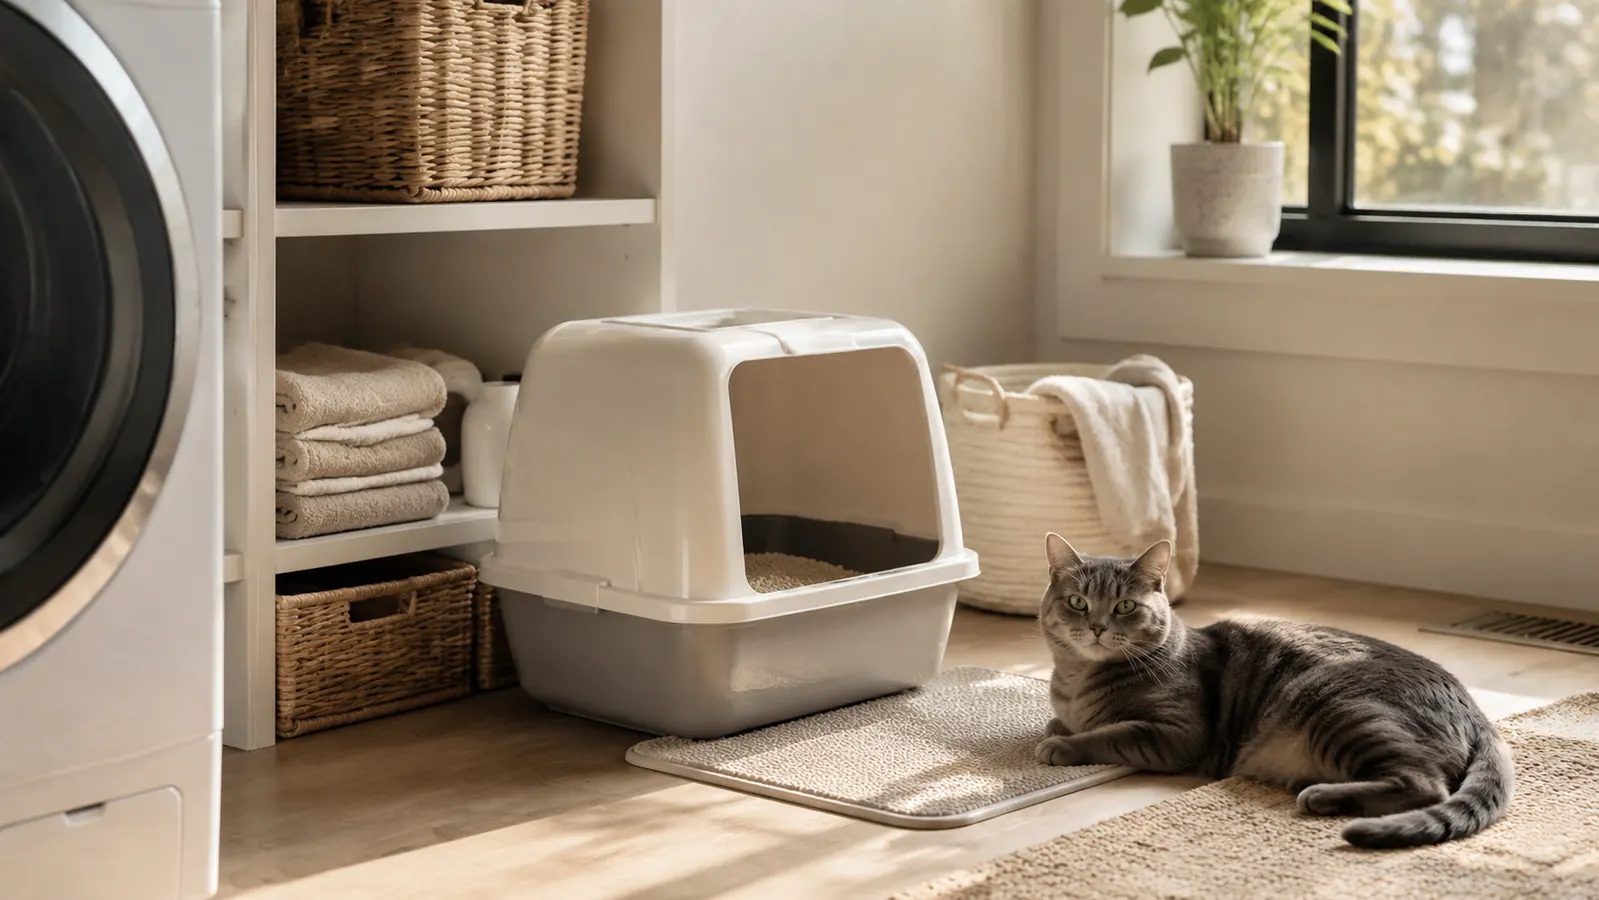
Let me be honest with you. For years I figured a smelly litter box was just the price of having a cat. I hid it from myself with scented sprays that made things worse, and I bought cheap litter that I had to fully change twice a week just to keep the hallway from announcing to every visitor that we had a cat. The whole time, the real fix was sitting in habits I was too set in my ways to change. Odor is a clue. It is telling you one of a handful of simple things is off, and almost all of them are easy to fix.
Before we start, you should know I am not a gadget person and I do not like fussy routines. My gray cat Frankie is nine years old now, and I have kept cats my whole life. What I am about to give you is a plain, stepped-out way to keep a box from smelling, the same one I follow every single week. The whole thing rests on a clumping litter called Fresh Step, which I landed on after years of bags that barely did the job. Nothing here takes more than a few minutes a day or costs much money, and I tell you plainly which steps I was slowest to trust actually mattered. The litter one and the placement one, if you want the spoilers.
One more thing before the steps. Almost every product sold to kill a litter box smell is treating the symptom, not the cause. A scented spray just layers one smell on top of another, and a plug-in only hides what is building underneath. If the cause is a weak litter, a full box, or a dead-air corner, none of it fixes anything for more than an hour. So I want you to fix the cause first with Fresh Step doing the heavy lifting underneath. The steps below are all cause and none of them is a gadget.
The one litter that finally held up in my house
After months of testing brands and swearing at bags of dust, Fresh Step clumping litter is what actually keeps Frankie's box from smelling between scoops. It clumps firm, stays low on dust, and the odor control lasts longer than any other brand I tried. This is the foundation the whole routine below rests on.
Amazon Check Today's Price on Amazon →Step 1: Start with a clumping litter that actually controls ammonia
A real clumping litter is the foundation, and I do not say that lightly. Non-clumping litter soaks up the wet and spreads it, which is why the box starts to smell a day after you clean it. A good clumping litter grabs the wet, forms a firm clump, and lets you lift the problem straight out instead of leaving it to sour in the pan.
I went through a few before I settled on Fresh Step, and I can tell you the difference is not subtle. What matters to me is that the clumps come out whole, the dust stays low, and the odor control holds for more than a day. Fresh Step has an ammonia-blocking feature that does the actual work, and I have come to trust that far more than a strong perfume smell that says masked instead of gone. Your nose can tell the difference, trust me.
A word of warning here, because it bit me for years. A strongly scented litter is not the same as odor control. It layers one smell on top of another, and the moment you walk past, the underneath smell is still there. I wanted the box to smell like nothing at all, not like flowers sitting on a bad smell.
Let me also be clear that switching to a good litter does not mean you escape upkeep. You still scoop, and you still wash the box. What it buys you is that between those two chores, the smell stays down, which is the whole game for a cat owner who wants to live with the door open. I would rather spend a little more on a litter that works than keep buying cheap bags and dumping them every few days.
Step 2: Scoop once a day, at the same time
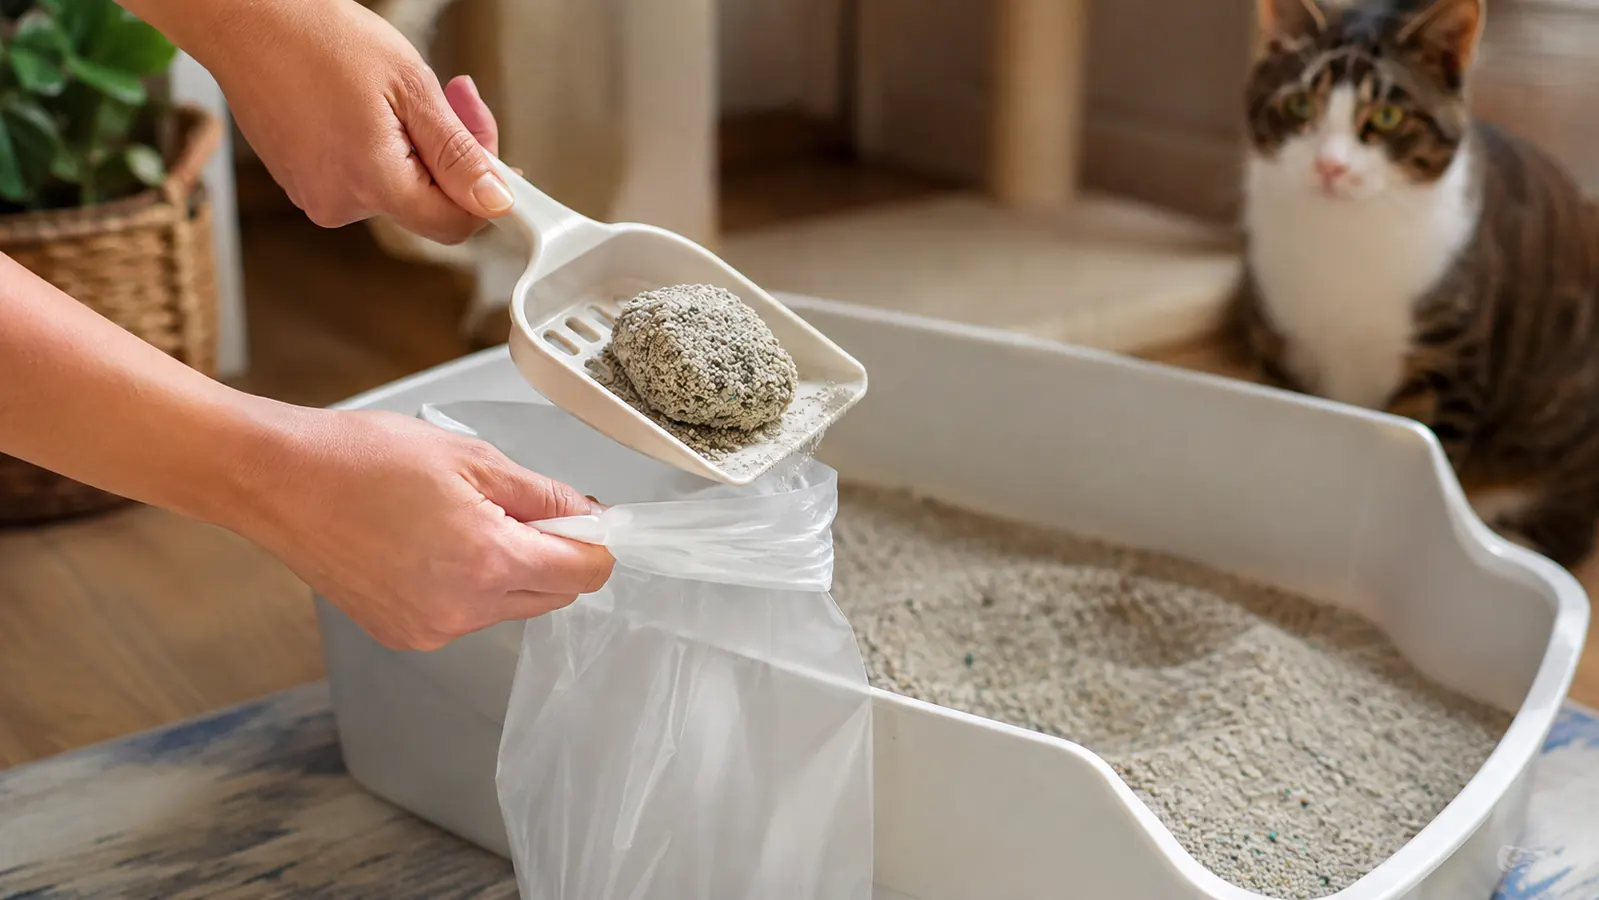
This is the single biggest change, and it is also the one I resisted. Scooping once a day keeps the wet from sitting long enough to turn into ammonia. Frankie uses the box far more than I care to think about, and even the best litter will let odor build if you only scoop every other day.
I do mine with my coffee in the morning. It takes under two minutes. I scoop into a small bag, tie it, and it goes straight out with my trash. The beauty of a good clumping litter shows right here: you lift the whole clump, the clean litter below stays put, and there is no reason to dump the entire box every few days.
It also helps to use a scoop that fits your pan and is big enough for a whole clump. I wasted a lot of time with a small scoop that broke every clump into bits, which made the bottom messy and the box smell faster. A wide, sturdy scoop made the same two minutes feel like half the work.
If you have more than one cat, once a day is the floor, not the goal. In my experience two cats need two boxes, each scooped daily, and that single change cured more odor than anything else I have ever done. Do not try to save yourself a step here, because it is the step that does the most.
Step 3: Keep the depth right and top it off, but do not stir
The amount of litter in the box matters more than people think. Too little, and the clumps end up glued to the bottom, which you will never fully clean and which will always smell. Too much, and you are just wasting litter and making it harder to scoop.
I keep about two to three inches in the pan. When I scoop, I top it back off to that same depth rather than waiting for it to run low. A steady depth means the clumps always have clean litter under them, and the odor never has a wet base to grow from.
I will admit the topping-off habit was the hardest for me to keep up, because it felt like busywork on days when the box already looked fine. Then I realized the top-off is exactly why it stays fine. A couple of scoops of fresh litter each time keeps the whole pan feeling like a new box without me ever doing a full dump.
Also, do not stir or mix the litter. I know it sounds fussy, but stirring pushes the wet clumps down to the bottom where they hide and build smell. Scoop them out whole and leave everything else alone.
Step 4: Wash the box itself, not just the litter
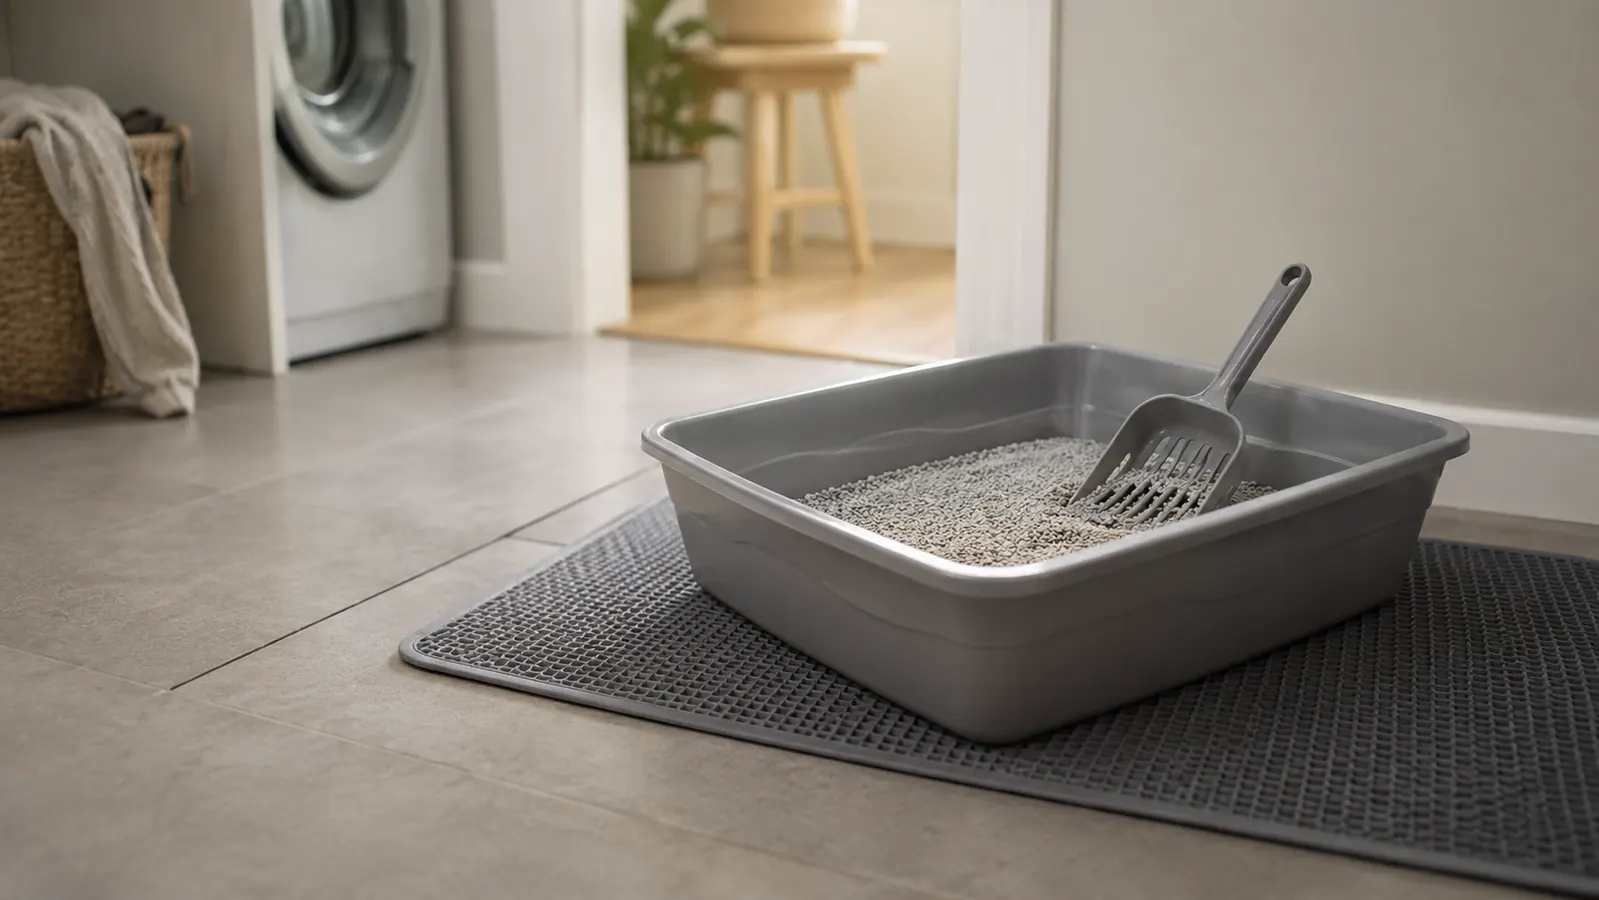
Here is what most advice skips, and it is the part that finally got my hallway to smell clean. Even with daily scooping and a good litter like Fresh Step, the box itself holds onto odor. The plastic pan soaks it in. You have to wash the box, not just change the litter in it.
I wash Frankie's box every couple of weeks with warm water and a mild dish soap. No bleach and no strong cleaners, because cats have sharp noses and will turn up their nose at a box that smells like chemicals. I rinse it well, dry it completely, and add fresh litter.
For the same reason, I do not scrub with anything that leaves a fragrance behind. A little soap and a good rinse is plenty. If your cat suddenly refuses the box, a chemical smell from the pan is one of the first things I would blame.
A small trick that saved me: I keep a second pan in the closet, washed, dry, and ready. When one pan is due for its wash, I put the spare down with fresh litter, take the dirty one outside, and clean it at my leisure instead of racing a cat who is waiting at the door. It costs nothing extra and takes the pressure off the whole chore.
Step 5: Put the box where air actually moves
This is the step I was slowest to believe, so please hear me out. Where the box sits matters a lot. Putting it in a tight closet or a closed-in corner with no air means every smell has nowhere to go, and it concentrates right where you live. Moving it even a few feet can change the whole room.
I moved Frankie's box out of the closed cabinet and into a corner of the laundry room where air actually moves. It is not a glamorous spot, but the difference was immediate. A box in still air smells, and a box with even a little airflow mostly does not.
You do not need to aim a fan at it or install anything. A box near a window you crack open, or in a spot with a normal draft from the house, is enough. The point is to give the smell somewhere to go instead of letting it hang in one closed corner.
One honest downside: an open spot means the box is more visible and a little more litter gets tracked. A washable mat in front catches most of it. I decided I would rather see a box than smell a closet, and you will probably land in the same place.
What Else Helps
Beyond the five steps, a few small things round everything out. A washable mat under the box catches tracked litter before it walks through the whole house. A light sprinkle of plain baking soda in the bottom of a clean pan works for some people, though I stopped using it once Fresh Step started doing the work on its own.
And if you still catch a whiff now and then, check two things before you reach for any spray or plug-in: how much litter is in the pan, since a low box smells fast, and whether the box is too small for your cat. Cats like room to move, and a cramped box gets messier and smellier. A bigger pan often fixes more than any deodorizer ever will.
Finally, be patient with the routine. A box that has been smelling for months will not turn around in one perfect Saturday. Give it a week of daily scooping, the right depth, and a clean pan, and you will notice the change most when other people are over, because you will stop bracing for the smell before you walk past.
If you are reading this because you are embarrassed to have people over, I get it. I was there. None of this takes a gadget or much money, just a decent litter and a few minutes a day. Start with the one step you are least likely to do, and you will see proof quickly enough to keep going.
I will say one last practical thing. The whole routine sounds like a lot when you read it as five steps, but the daily part is really just the morning scoop and the occasional top-off, and the rest happens every couple of weeks. Keep it that simple and it stops feeling like a chore and just becomes part of your day with the cat.
Daily scooping solved more odor in Frankie's corner than every spray and scented litter I had bought over the years put together.
Start with the litter that made the rest of this routine easy
Every step above works better when the litter underneath it does its job. Fresh Step clumps firm, stays low on dust, and holds odor far longer than the bags I used to buy, and it is the one I recommend to any cat owner tired of holding their breath near the box. If you are ready to stop masking the smell and start fixing it, this is where I would begin.
Amazon See Today's Price on Amazon →